Ready for a Rally

Finally, I managed to start fixing things faster than I was breaking them this weekend.

First up, the alternator. The internet let me know that some E30s refuse to charge the alternator if the charge light wasn’t working.  There’s some disagreement about what year that change was made, or if it was universal. My charge light wasn’t working, but I was pretty sure that it’s never worked.  But not certain.  I verified that with the ignition powered, I got 12V field/excitor voltage to the D+ terminal which is the thing that gets interrupted with a busted charge light.

With that in mind, I turned to the spare alternator from the second engine, but it subjectively looked worse than mine.  It’s also filthy.  But mostly I reasoned that it was very likely that the failure was the voltage regulator, and I didn’t want to condemn an entire alternator if the problem was just the voltage regulator.  Here’s the Bosch regulator that was on the unknown alternator:

The one in the car was not Bosch and the lettering was impossible to make out.  I swapped this one in, and the alternator worked just fine.  The charge light never comes on.  Not sure if it’s burned out or bypassed in some way.  The aforementioned joys of a car with an unknown history.

I wanted to replace the 20 year old seats with modern containment seats.  Irish44j’s photos make me think it’s maybe possible to fit an HTE-R XL in there, but it’s not certain.  My codriver is quite a bit smaller than me, and he claims he fits comfortably in an HTE-R 400.  In fact, he had one that he’d purchased for a Pike’s Peak car that didn’t run this year, so he gave it to me to install it.  So I set about installing this seat, and it gave me fits.

First, it’s about an inch narrower than the seat I had.  I’m unclear about the wisdom of mounting a seat with spacers and longer bolts (seems maybe bad), so I flipped around one of the seat brackets which took up right about the right amount of space.  I still had a heck of a time getting it in there, I think the brackets are *slightly* too tight now, but I did, eventually, get it.  For reasons that make no sense at all, the seat is now farther forward.  This is apparently due to the new seat just sitting farther forward of the mounting points than the old one did, but looking at them doesn’t look that way.

I really need to move the seat brackets after about 2 inches, but given that I was running out of time, I think this will work fine.  I needed to move the fire extinguisher forward a bit, and Jack has less leg room now, but I could fit in there and he’s shorter than me.

My harnesses went out of date in 2022, so I installed new Sabelt ones.  I really like Crow harnesses because the material is soft and easily adjustable, but the SFI-only certification is a bit frustrating.  And while you used to be able to send them back quite a few times for re-webbing for like $60, they will now only reweb them a single time.  Which means only 4 years out of a set.

I’m loving the adjust-at-the-buckle 2″ lap belts these have.  Super easy to get the lap belt much tighter than with the standard pull-up 3″ belts.  The shoulder belts are pretty hard to adjust because they’re so stiff, though.

I put the old co-driver seat in place of mine, because the cover on mine is torn and it made tech upset last time.  If I and the car make it through this event, I’ll figure out how to get a proper containment seat on my side, too.

I got the ugly new graphics badly installed.  I worked really hard on the last decals, and I’m annoyed at having to replace them with uglier ones so I spent less time on it this time.  Trimming the windshield banner carefully is hard, and the black hides mistakes way better than the white.  Oh well.

I’ve driven about 60 miles and it seems good.  I cranked the idle up too high (about 1,200rpm) to keep the oil pressure high enough at idle to not flip the fuel pump shutoff relay.  This would be bad for a street car, but I think it’s fine here.  My impression is that the car is slower than it was with the old engine, but that could just be in my head.  The new clutch is way stiffer than the old one, but it’s also fine.  My $30 ebay short shifter is working great and makes it easier to get it into 1-3-5 while belted in.  I should probably get one of the tall ones and bend it a bit, but this is fine for now.

The rear lights (which they actually checked at tech last year) like to stop working.  Removing and reinstalling the bulb fixes it for a little while.  I decided to pull them all and spray them with contact cleaner hoping that they’d at least work long enough to get through tech this year.  Of course, one of the tail lights disintegrated on removal.  Drove to the auto parts store to acquire a replacement.

I also plugged the new inspection port on my transmission with a rubber plug.

Went ahead and loaded it on the trailer!  

BMWs are Dumb

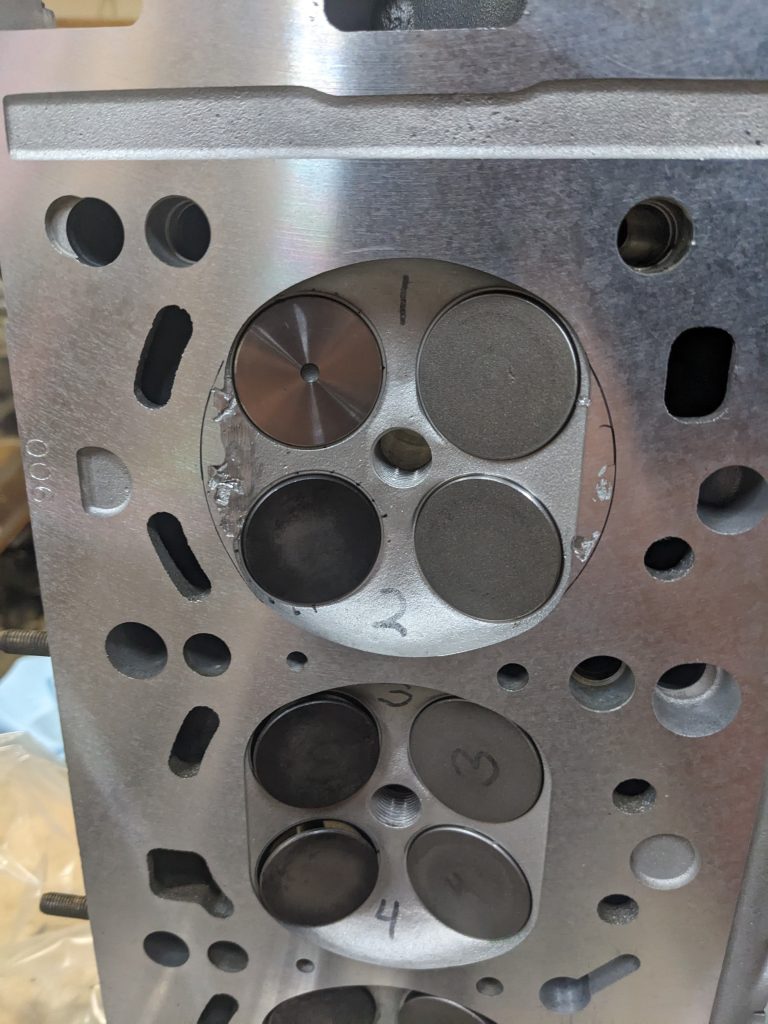
The machine shop called to say that three valves were bent, and they were having trouble locating replacements. I quickly browsed all the German car part sites, and most of them didn’t have any intake valves in stock, but ECS tuning did. That should have been a warning sign, but I just ordered them with overnight shipping and figured it’d be fine.

They called shortly after delivery to let me know that the exhaust valve was correct, but the intake valve was the wrong size. After much searching, it turns out that the 6mm intake valves on the M42 were only used for one year, and they’re NLA from BMW. After much searching, it turns out that Rock Auto, of all places, actually has some aftermarket ones readily available. They don’t, of course, list the valve in a part search for my car, but once I managed to find the magic part number (RV1359), they appear. And unlike most sites, Rock Auto actually lists all the relevant dimenstions in a diagram, so I was able to be sure they were the right ones before ordering. Unfortunately, while RockAuto would happily ship next day, they said they wouldn’t ship for 3 days.

Luckily, they lied, and the shop got the valves on Friday, in time to return the head to me on Saturday.

Not good as new, but hopefully good enough:

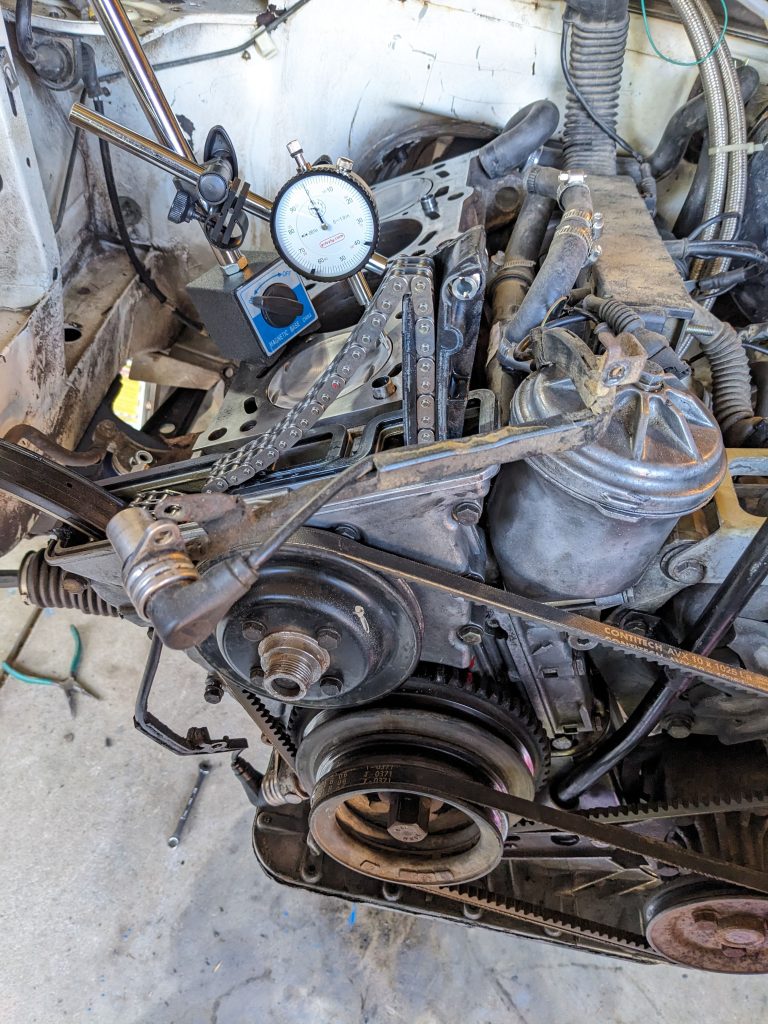
A continued annoyance when reassembling this thing: BMW can’t be bothered to mark TDC (or anything else) on the M42 crank pulley. Just… why not? Yes, the stock flywheel has a hole that lines up with a hole in the case that you slot a tool through to lock the crank in TDC, but I don’t have a stock flywheel. And you still have to locate TDC to stick the tool in. This seems like the most basic thing you do to make an engine serviceable. I’m so over BMW. Problem solved for now:

I got it mostly bolted together on Saturday evening (at least everything with sealant on it) so it could cure overnight. Finished up Sunday morning. Cranked it over to prime the oil system, got 30PSI of oil pressure on the starter motor. Then flipped on the fuel pumps and hopped out to leak-check the fuel system.

I had a geyser of fuel spraying from one of the braided stainless hoses on the firewall. It had leaked there once before, and tightening the connector fixed it. It did not this time.

I pulled the fuel hose, cut an inch off the end and reattached the AN fitting. An even bigger leak. Curious how I bungled that so badly, I did it again, and it leaked again. This time when I pulled it off, I noticed the rubber hose inside was cracked several inches. I cut it off past where it was cracked, reattached the connectors and tried yet again. This time the geyser came from the middle of the hose. At this point, I’d probably been screwing around with this hose for 3 hours, I was drenched in fuel and furious.

After looking it up, apparently it’s normal for this stainless braided rubber fuel hose to disintegrate after just 5 years? This stuff is probably as old as the original build (2007), but what the hell? OEM rubber fuel lines often last 40 years with no problems! I think the fact that it spent a year drying out when the engine was disconnected is probably the biggest problem.

Anyway, AN-sized braided fuel line isn’t something that auto parts stores seem to have in stock. I ordered a bunch of replacement stuff from Amazon, this time PTFE (teflon) which supposedly lasts longer than the rubber. But it won’t get here until tomorrow. And registration for Rally Colorado ended last night.

So, I went ahead and registered even though I have no idea the car even runs, much less drives. I have 9 days. I’m sure it’ll be fine?

That time I flew a spy plane.

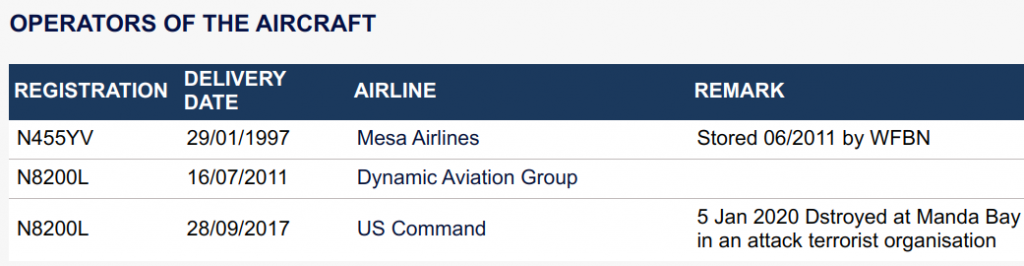
Google thought it’d mention that this photo was taken 14 years ago.

Usually when it brings up images like this (taken at Jackson Hole, WY), I start to wonder about my career choices. I suddenly wondered what happened to Mesa’s Dash 8’s. So I looked up this one since its N-number (N455YV) was right there, and discovered that it eventually made its way to the U.S. Army, who turned it into a surveillance plane. And then it was destroyed in a terrorist attack in Kenya.

Presidential M42 Progress

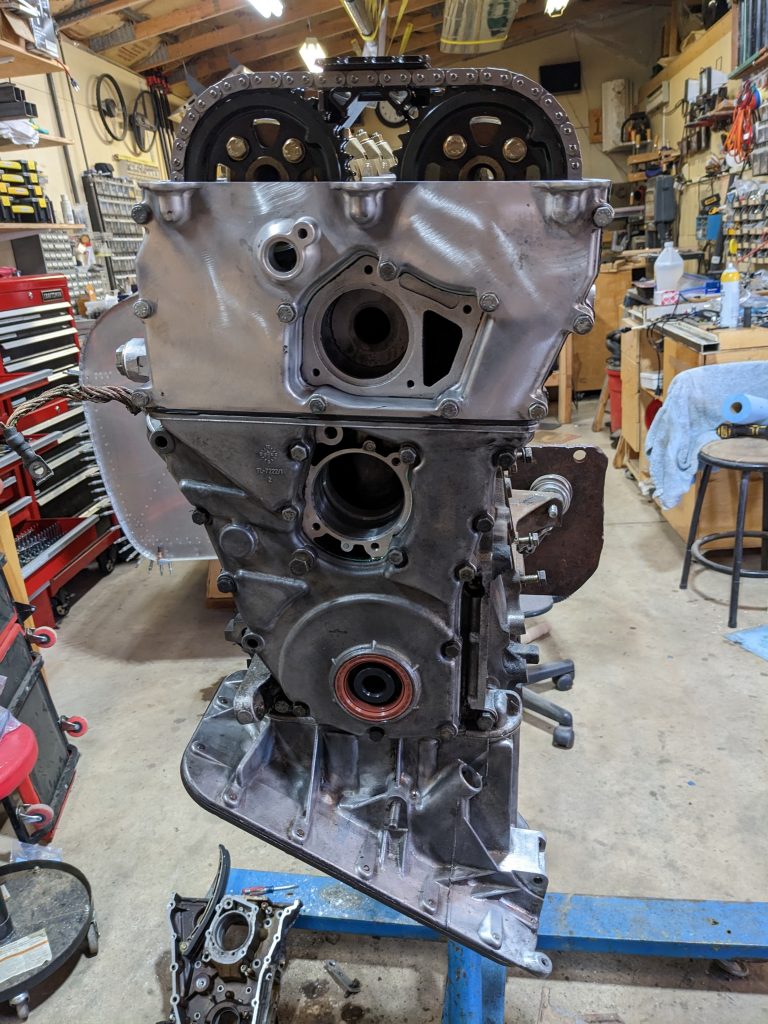
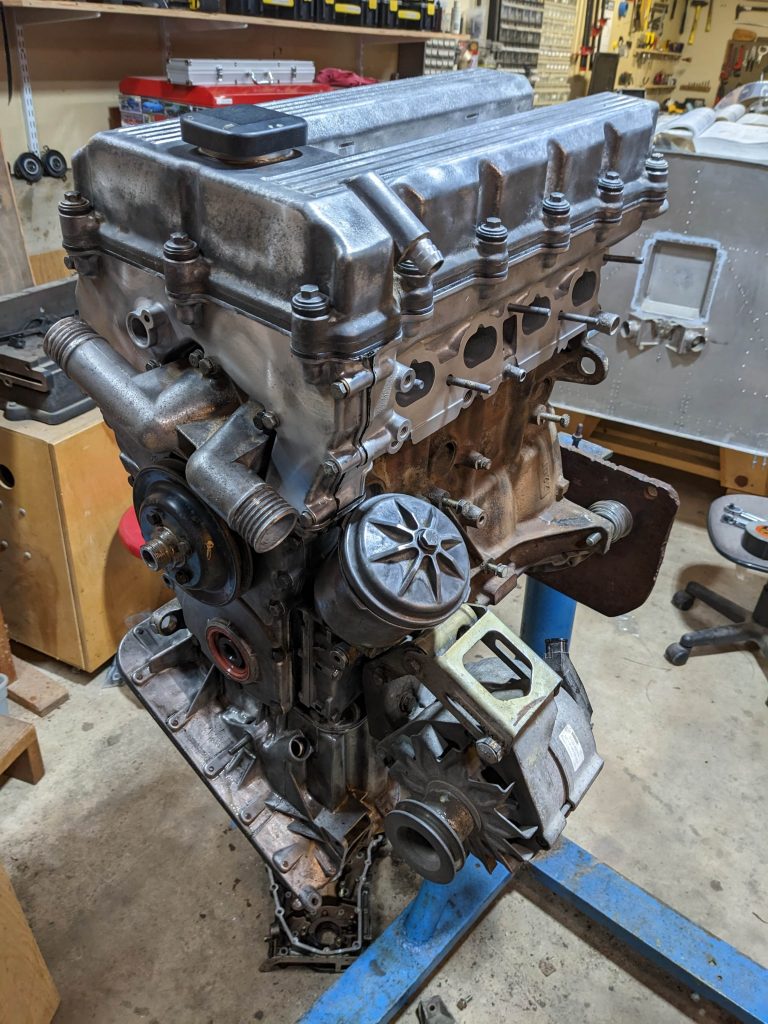
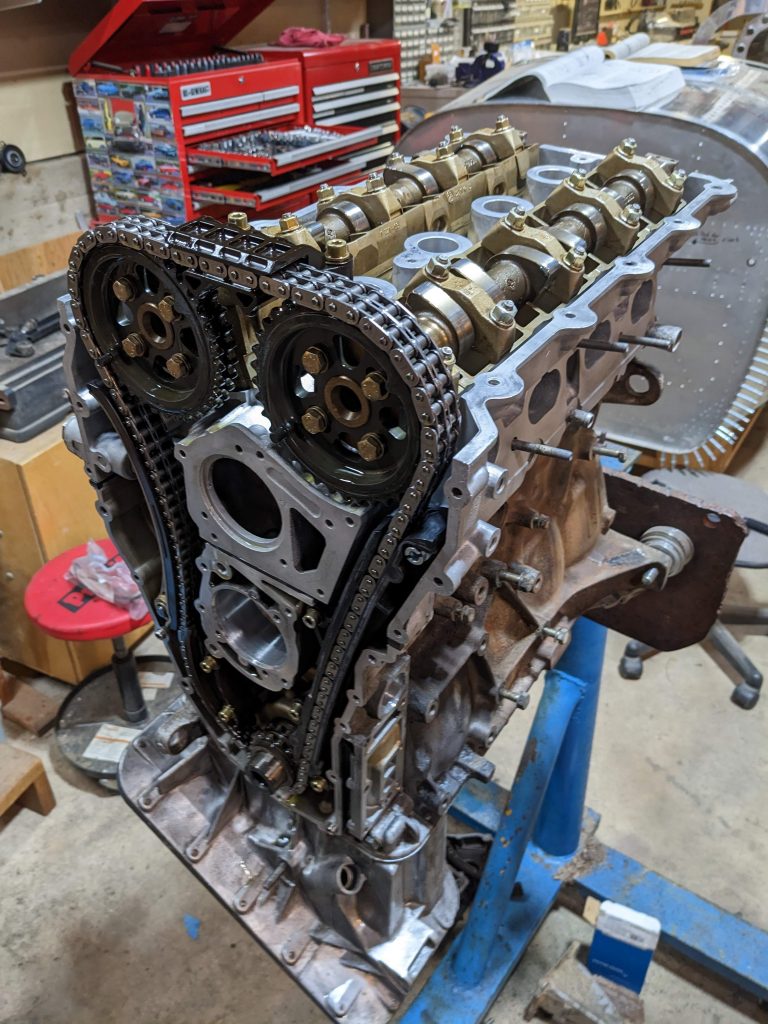
The timing covers on the front were leaking profusely from both engines. As others have mentioned, “they do that.” That’s disappointing and annoying, but I’m not here to solve age-old BMW problems. The engine my car came with managed to completely coat the inside of my skidpan with about 5 miles of driving so, hopefully I can do better than that? The way these timing covers seal with a fiddly “profile” gasket in some places and a super thin paper/composite gasket in others is problematic. I’m normally not one to use RTV on gaskets, but it seems like anything might help here. The replacement M42 came completely coated in RTV squeeze-out as well as oil leaks, so it’s clear that RTV alone doesn’t solve the problem. I used a very thin layer on both sides of the gasket, and a bit more where the rubber profile gaskets join. The inner part of the profile gasket protruded a bit on one side after torquing the head down, so I trimmed it flush with a razer blade. The outer section of the gasket that rides between the timing covers is more problematic. It’s clearly meant to be compressed downward to (1) seal the forward edge of the gasket, and (2) provide a flush surface for the valve cover to mount to. Only, there’s no good way to apply downward tension on it. Worse, the holes in the upper timing cover are oblong, which means that you can line up the holes and bolt it together completely misaligned. I used some vice grips to compress the upper timing cover such that its top surface was level with the valve cover while I torqued down the bolts. I don’t think I’d recommend this technique as it put some ugly gouges in the timing cover, but you won’t be able to see them over the inevitable oil and dirt covering anyway:) The whole thing is a pretty unimpressive maintenance-unfriendly design.

I told myself I wasn’t going to clean any of this stuff up and just stick all back together with the outsides dirt and oil covered as long as the inside was clean, but I just couldn’t help myself and even wire-wheeled the valve cover a little bit. In any case, the engine is mostly reassembled, minus the intake and cooling stuff on this side.

I know how these block heaters are held in place, yet like an idiot, I went ahead and completely removed the bolt on the front before thinking it through. That left the nut and expanding wing bit to drop into the water jacket. And of course they’re stainless, so I couldn’t fish them out with a magnet. I spent an hour and got one piece out by tilting the engine over on the stand. I got the other one out by duct taping a piece of tiny silicone hose to my shop vac, which let me fish it out.

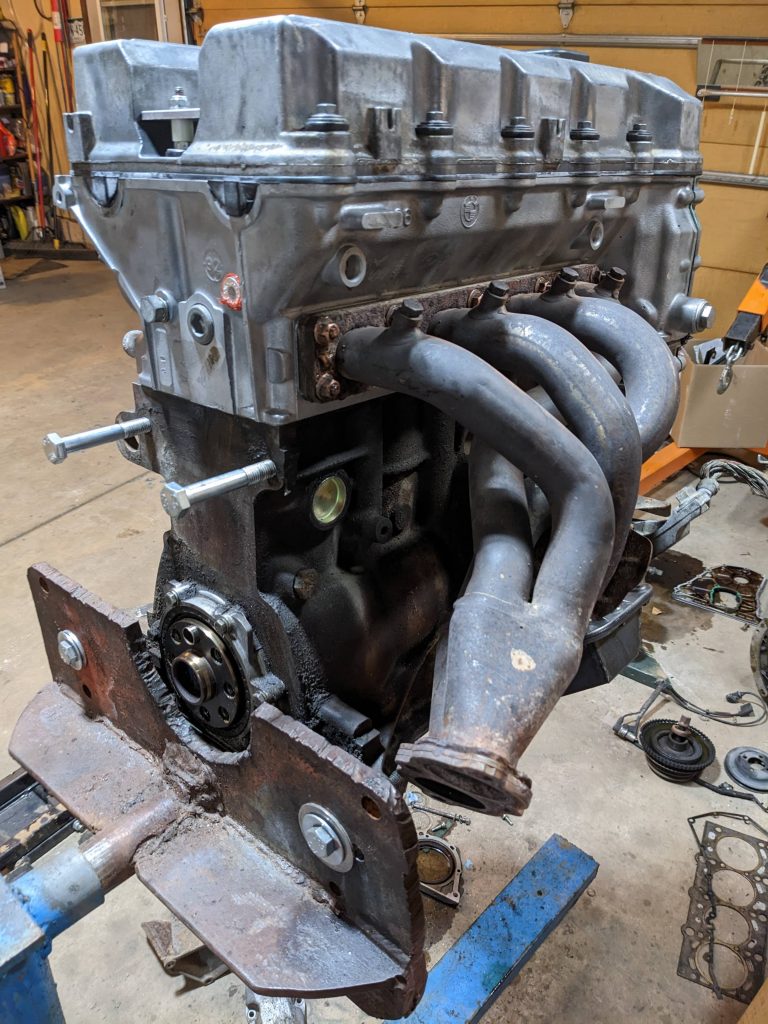
Anyway, shiny freeze plug installed. I also removed the German-tastic studs-welded-to-a-flange thing the exhaust header has going on. I now have 2 of these in my possession, and on both 2/3 studs break loose, but the third stays firm. There is absolutely no reason that these should be studs welded to a flange as bolt heads are perfectly accessible even when this is installed in the car. Fixed.

Some M42 Assembly

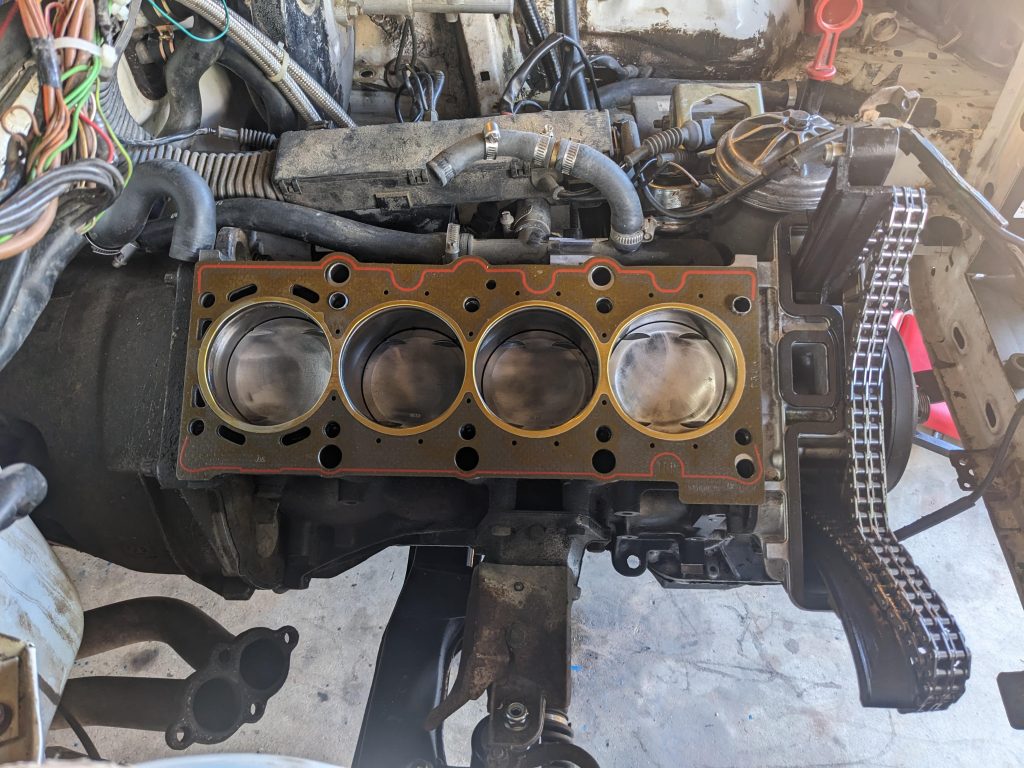
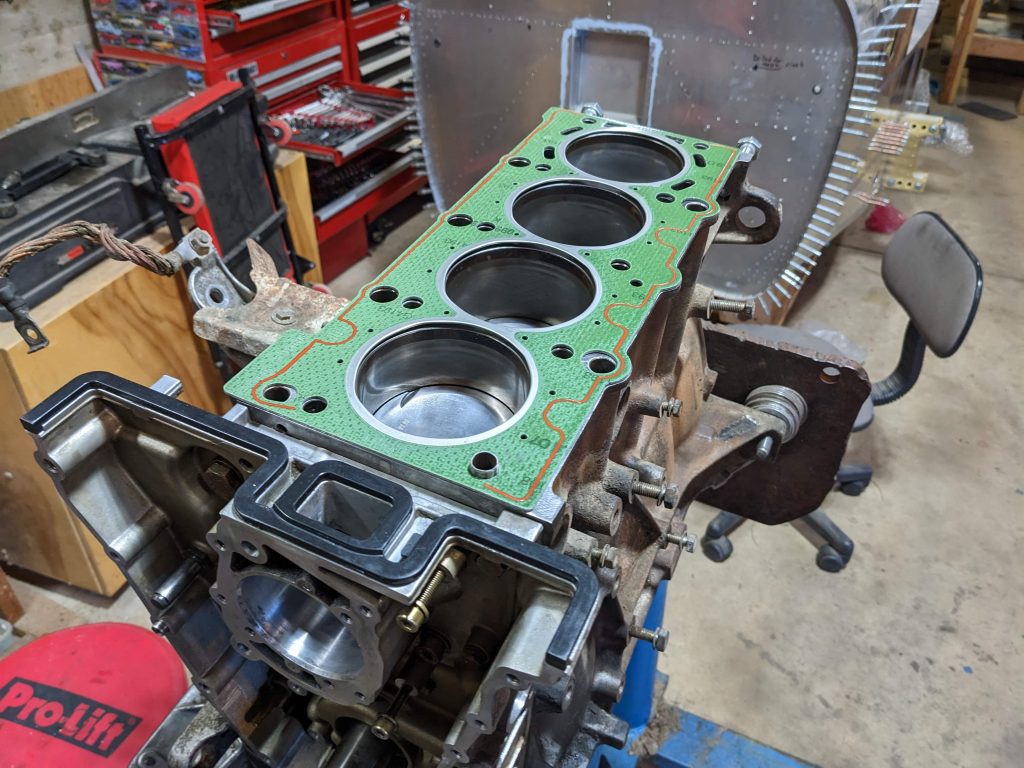
Forward progress. I’d forgotten, initially, to loctite the bolts that Josh said to loctite. I remembered to do it before the lower oil pan though, so I went back and did that, as well as the oil pickup bolts since apparently they’re problematic as well. I went ahead and doubled the lower oil pan gasket and hope that it works out.

Other frustrations–the Bentley manual talks about an oil supply check valve that goes in the block, but neither of mine had any such thing. Some internet searching found lots of other perplexed people. Apparently the part is listed, but it doesn’t actually fit unless you machine the threads in the block. Not having any interest in that, I’ve chosen to believe the parts of the internet that say such a valve was only for later years. It probably does need a valve–possibly related tow hy it takes 20+ seconds on a cold start to get oil pressure? Or maybe that’s because my oil pickup was smashed into the bottom of the pan.

I feel like there must have been more than one alignment sleeve between the block and the head, but the head came back with only one in the baggy of bits of they removed. Possible it stayed with the block and I lost it. Possible there was only one. I put it back together with one.. How misaligned could this get, anyway?

I used the cams and caps that came with my car, because the ones that came with the replacement engine looked servicable, but noticeably more worn. Some of the hydraulic lifters that came with my car had some pretty significant pitting on the surface, so I swapped the questionable ones out. They have different part numbers. I hope that works out.

I thought I’d ordered new bits for all the timing chain stuff. The old version of the guide that goes against the tensioner is NLA, but the new one is still available. Only, for some reason, it appears my new timing case had the old style installed. The difference appears to only be that the stud it pivots on is much, much larger on the new version. Not having a new stud, I used the better of my two worn ones. I’m sure it will last long enough for me to drive into a tree, right?